|
|
|
|
|
|
|
|

|
|

|
|

|
|

|
|
Here is he completed door
|
|
Here is the original drawing of the proposed
door
|
|
Here is a close-up if the upper half
|
|
...... another view of the completed door
|
|
|
|
|
|
|
|
|

|
|

|
|

|
|

|
|
Here is a view of the foiled stained glass window
,,,,,, from the outside
|
|
Here is a view of the stained glass from the
inside
|
|
Here is a close-up of the molding used to "frame'
the stained glass
|
|
Here is a view of the Striated Fir panels
|
|
|
|
|
|
|
|
|

|
|
|
|

|
|

|
|
... each panel is a bookmatched panel
|
|
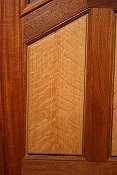
here is a close-up of one of the Fir panels
|
|
Here is the stained glass .... backlit
|
|
tricky corners !!
|
|
|
|
|
|
|
|
|
|
|
|
|
|
|
|
|

|
|

|
|

|
|

|
|
Notice the tight growth rings of this beautiful
Mahogany
|
|
I sharpen my planing and joining tools before
machining
|
|
The sharpen knives
|
|
All of the wood starts as rough lumber
|
|
|
|
|
|
|
|

|
|

|
|

|
|

|
|
... and I join and plain each piece
|
|
after planing I joint one edge for
straightness
|
|
then each piece is ripped to width....
|
|
....... and cut to length
|
|
|
|
|
|
|
|

|
|

|
|

|
|

|
|
here is a "practice" piece to verify the
angles
|
|
..... before I layout and machine the actual
Mahogany
|
|
here I have "dry clamped" the actual pieces to check
my fit
|
|
... the entire door is hand fitted then dry clamped
before we glue up the door
|
|
|
|
|
|
|
|

|
|

|
|

|
|

|
|
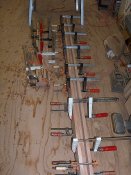
Here is the door being clamped up .... both in width
and height
|
|
This temporary block is used to clamp from top to
bottom
|
|
Here the door will cure for 4 days
|
|
......... nice fit !!
|
|
|
|
|
|
|
|
|
|
|
|
|
|
|
|
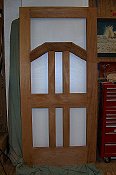
Here is the door out of clamps
|
|
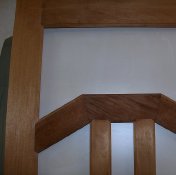
a close up of the opening for the stained
glass
|
|
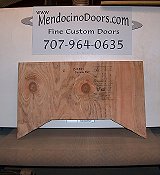
Here is the template for the stained glass
opening
|
|
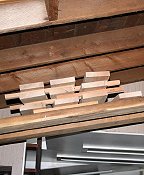
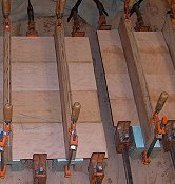
Since this door is going to Southern California I am
climatizing the book matched Striated Fir panels for the
dryer climate
|
|
|
|
|
|
|
|
|
|
|
|
|
|
|
|
|
|
|
|
|
|
|
|
|
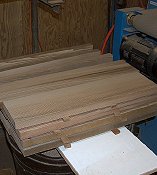
Here are the panel blanks ready for the bookmatched
Striated Fir
|
|
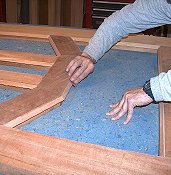
..... and hand sanding starts on all of the molded
edges
|
|
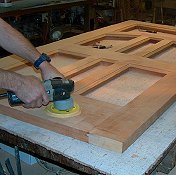
.......... and then machine sanding
|
|
Here are the bookmatched Striated Fir Panels being
glued up .... they will be beautiful
|
|
|
|
|
|
|
|
|
|
|
|
|
|
|
|
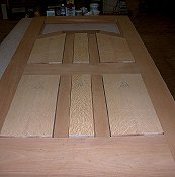
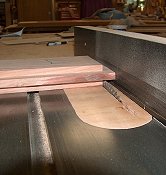
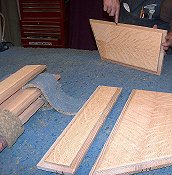
The panels are first cut to size
|
|
....... the rebated and beveled on the
faces
|
|
....... once through the surface sander
|
|
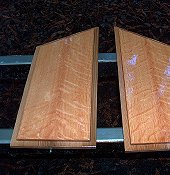
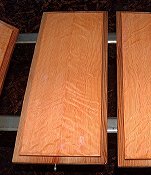
.. and then hand finished and sanded
|
|
|
|
|
|
|
|
|
|
|
|
|
|
|
|
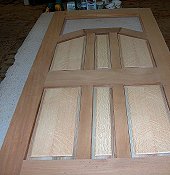
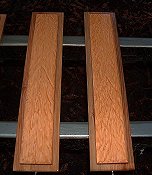
... then set into the door for a final fit ......
notice the expansion space left for each panel to be allowed
to move
|
|
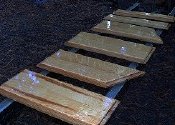
..... and here is the first coat of my varnish oil
on the bookmatched Striated Fir.... it is so
beautiful
|
|
... each coat of oil will cure for 3 days before we
apply the next coat
|
|
....... it just doesn't take to "much" time if I'm
going to do it right !!
|
|
|
|
|
|
|
|
|
|
|
|
|
|
|
|
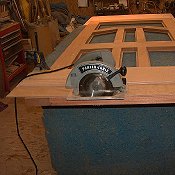
Here the door is cut to the exact length ..... with
precision and attention to detail
|
|
here .... the panels get the 5th coat of varnish
oil
|
|
Here I am gluing up the jambs
|
|
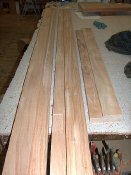
...... and here are the finished Mahogany
jambs
|
|
|
|
|
|
|
|
|
|
|
|
|
|
|
|
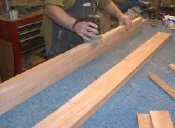
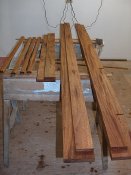
Then we finish sand the jambs
|
|
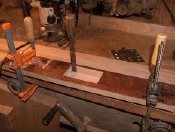
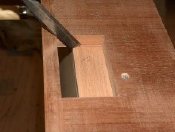
........ and mortise for hinges
|
|
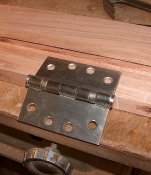
here is one of the ball-bearing hinges ..... fitting
perfectly
|
|
here are the jambs and stained glass molding after 4
coats of varnish oil
|
|
|
|
|
|
|
|
|
|
|
|
|
|
|
|
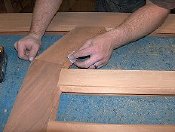
Here I am mortising the door for the hinges
|
|
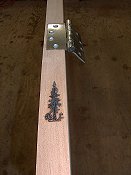
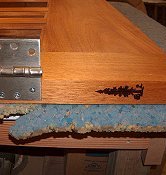
Here is a fitted hinge and my "signature"
|
|
....... then I back bevel the handle side 2
degrees
|
|
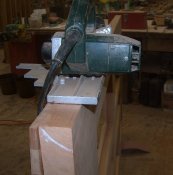
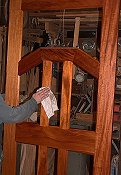
The final hand sanding of all the molded
edges
|
|
|
|
|
|
|
|

|
|
|
|
|
|
|
|
...... and the final machining before
oiling
|
|
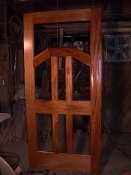
..... and here it is ....... the SailFin door with 4
coats of oil-varnish
|
|
the door cures 3-4 days between each coat of oil
....... that is one of the secrets!
|
|
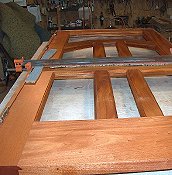
.. here we start pre-hanging the door
|
|
|
|
|
|
|
|
|
|
|
|

|
|
|
|
Here is the door ...... hung in its' jamb .....
which we will take apart for shipping ..... fits nice
!!
|
|
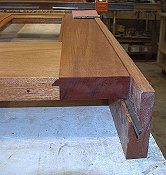
Here is an end view of the door, jamb, and
weatherstripping. The jamb is provided long ....... to be
cut on site.
|
|
Here is a close-up of the actual Mahogany jamb, with
weatherstripping
|
|
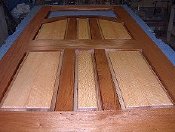
and the bookmatched Striated Fir panels are put in
their place
|
|
|
|
|
|
|
|
|
|
|
|
|
|

|
|
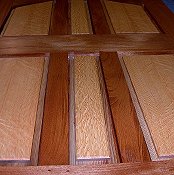
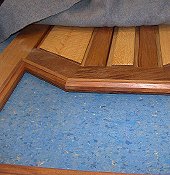
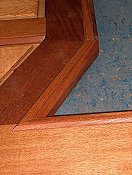
The panels "float" behind the stops and are
suspended with special floating neoprene
|
|
Here is the raised molding .......
|
|
.......... that will hold in the Sail Fish stained
glass
|
|
The floating panel is caulked in with a siliconized
latex caulk ...... that turns clear upon curing and is
guaranteed for 50 years
|
|
|
|
|
|
|
|

|
|

|
|

|
|

|
|
JJ did an amazing job of dealing with this complex
corner
|
|
The excess caulk is removed and the surfaced is
cleaned with a damp rag
|
|
The fitted stops are attached with Stainless Steel
fasteners ........ no more "brown spots"
|
|
Here I am boring for the Emtek handle set
|
|
|
|
|
|
|
|

|
|

|
|

|
|

|
|
..... this way ...... we can oil the holes ......
the right way !!
|
|
The outside of the handset
|
|
....... and the inside
|
|
We then wrap the door in plastic and pack it in the
shipping crate padded with foam
|
|
|
|
|
|
|
|

|
|

|
|

|
|
Return
to top
|
|
We then add the pieces of the jamb
|
|
....... and seal our baby up
|
|
It was a rainy day, so I kept it covered while I
drive down to the Highway to meet the "big truck" to take
The SailFin on its' journey
|
|
|
|
|
|
|
|
|
|


