|
|

|
|

|
|
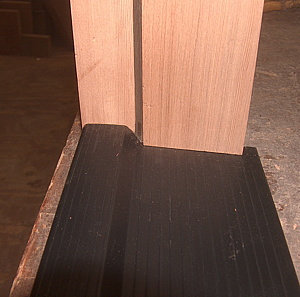
The bottom of the jamb is rebated
for the threshold
|
|
weather stripping is added to the
jamb sides
|
|
after the jamb is fitted into the
opening. the threshold is slid in from the inside of the
house
|
|
|
|
Please click on
images to Enlarge
|
|
|

|
|

|
|

|
|
right up to the
weather-stripping
|
|
in place
|
|
the threshold is drilled on each
side and in the middle
|
|
|
|
|
|
|

|
|

|
|

|
|
I recommend stainless steel
screws
|
|
don't forget to countersink so that
the screw head is flush
|
|
don't forget to caulk the threshold
where it meets the jamb side/.
I recommend DAP Dynaflex 230-Clear
|
|
|
|
|
|
|

|
|
Click On Any
Image To Enlarge
|
|

|
A little permanent black marker
hides the stainless
|
|
|
|
In the future, these jambs are
removable and easy to replace
|
|
|
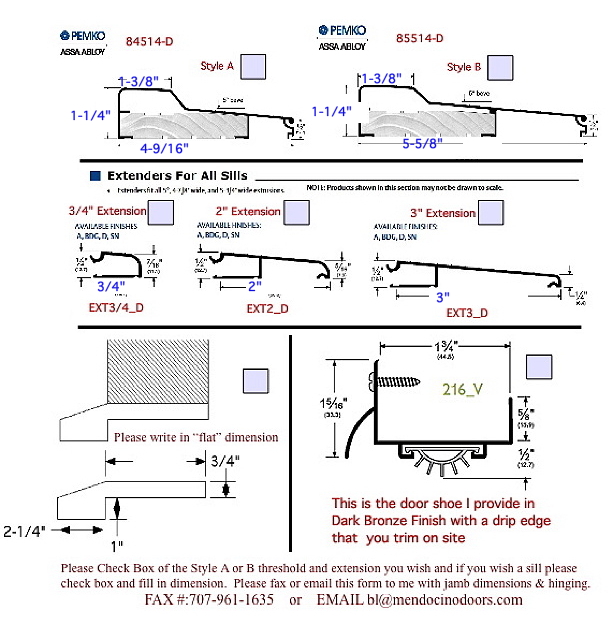
These are the
thresholds I currently offer with my
jambs
|
|

CLICK
HERE for
Threshold, etc Pricing
|
|
|
If you wish to download the
form just click on the logo 
|
|
|
|
All Designs are
© by MendocinoDoors.com~2013
|
|
|
|
|
Return
to Jamb Construction
RETURN
TO GALLERY
|
|
|


