|
|
|
|
|
|
|
|

|
|

|
|

|
|

|
|
All of my materials are placed in a heated
environment to stabilize before machining
|
|
Here are some "end cuts" showing the exceptional
quality of the materials I use for my doors
|
|
one piece has 39 growth rings (or years of growth)
in 1 inch
|
|
after planing .... the pieces for the sidelight
"settle down" before the final machining and
assembly
|
|
|
|
|
|
|
|

|
|

|
|

|
|

|
|
each mullion is hand fitted
|
|
and bored for Mahogany dowels
|
|
...... then each vertical mullion is hand fitted for
a perfect fit
|
|
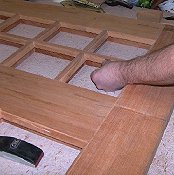
at glue up ...... the excess glue is wiped off
........ and we "scrub" the corners with a
toothbrush.
|
|
|
|
|
|
|
|

|
|

|
|

|
|

|
|
The sidelight remains in clamps for 3-4 days
........ the glue will fully cure ....... and hopefully
.....
|
|
...... last that 100 years of existence I'm
"shooting" for !!
|
|
...... then the machining starts on the Entrance
Door
|
|
The styles are ruff machines and allowed to "settle
down"
|
|
|
|
|
|
|
|

|
|

|
|

|
|

|
|
Here the pieces are being thickness planed
|
|
.... and jointed flat on face ...... from rough
lumber
|
|
Here are the pieces for the door, after planing to
thickness, and about to be cut to width and length
|
|
..... before the slot tennon is machined ........
the ends are coped with a male machined detail
|
|
|
|
|
|
|
|

|
|

|
|

|
|

|
|
here are the mullions after machining
|
|
here .... the fitting begins .... piece by piece
...... and then the pieces are marked for splined
tennons
|
|
...... each mullion is individually cut and
fitted
|
|
..... so they fit like this ......
perfectly!
|
|
|
|
|
|
|
|

|
|

|
|
|
|

|
|
The average door has at least 14 clamps to achieve
flat and tight joints
|
|
Here the door will cure for 4 days till it can come
out of the clamps
|
|
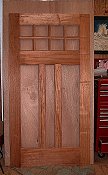
Here is the entrance door out of clamps
|
|
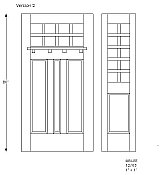
Here is the door and sidelight
|
|
|
|
|
|
|
|
|
|
|
|

|
|
|
|
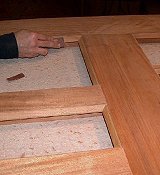
Then ...... the finishing begins. All of the
chamfered molded edges are hand sanded to a "furniture:"
finish
|
|
......... and sanded
|
|
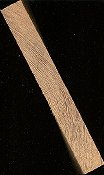
Here is the panel stock I've picked for the
sidelight panel. It is old growth Redwood ..... 1pc 20"
plank
|
|
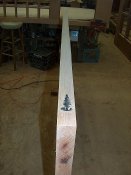
I scanned the end grain to show the quality of wood
........ I figured this plank came from a 6ft diameter
tree!
|
|
|
|
|
|
|
|
|
|
|
|
|
|
|
|
all of the chamfered stops are made from matching
Mahogany
|
|
The stops then soak in oil
|
|
...... then cure ........ each stop is "soaked" 4
times in my
oil
....... this is the right way
to do it !!
|
|
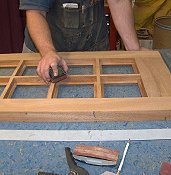
The mullions are hand sanded, because they are
delicate and need to be treated kindly
|
|
|
|
|
|
|
|
|
|
|
|
|
|
|
|
|
I make all doors slightly oversize then trim them to
actual size and square
|
|
After trimming ....... I sign the door
|
|
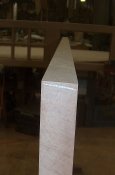
...... and back-bevel the leading edge 2deg for easy
of swing
|
|
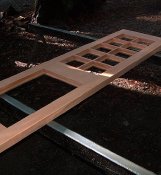
Here is the sidelight ready to oil
|
|
|
|
|
|
|
|
|
|
|
|
|
|
|
|
It is sealed inside and out ..... allowed to cure
3-4 days .... then oiled 3 more times
|
|
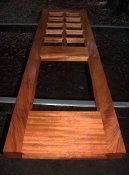
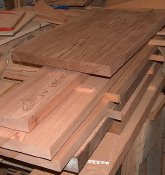
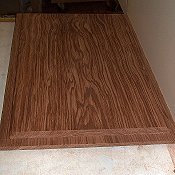
Here is the panel stock ....... solid Old Growth
Redwood
|
|
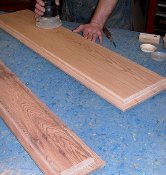
Here they are sanded to a furniture finish
|
|
...... a close up of the sidelight panel ........
such beautiful wood ....... flat sawn so that it will expand
from front to back ....... so side to side
|
|
|
|
|
|
|
|
|
|
|
|
|
|

|
|
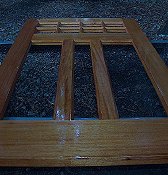
Here is the first oiling of the Entrance Door ......
3 more to come !!
|
|
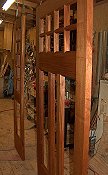
Here is the door and sidelight curing in the shop
between oilings
|
|
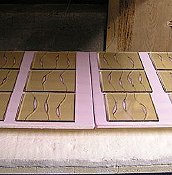
Here is a preview of the glass before it goes into
the kiln to be fused
|
|
.... and here is the sidelight glass
|
|
|
|
|
|
|
|
|
|
|
|
|
|
|
|
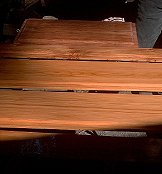
The panels are coated with the first of four coats
of varnish oil
|
|
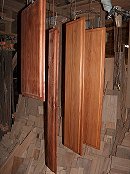
The panels cure for three days between
coats
|
|
Here the sidelight receives its' third coat of
varnish oil
|
|
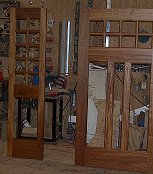
Here is the door and sidelight curing
|
|
|
|
|
|
|
|
|
|

|
|

|
|

|
|
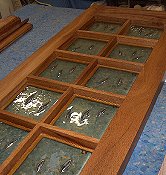
Here the custom fused glass is being laid out in the
sidelight
|
|
After the varnish oil has cured, we prep the door
for the dentils and shelf
|
|
the posts are glued down and in prefect
alignment
|
|
Here are the raw posts left to cure for 2-3
days
|
|
|
|
|
|
|
|

|
|

|
|

|
|

|
|
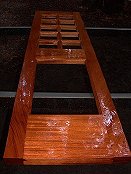
The dentil posts will be varnish-oiled 4 times
before I add the shelf
|
|
Here is the dentil shelf, just before
oiling
|
|
The hand fused glass is first "floated" on rubber
blocks
|
|
....... then caulked with a siliconized latex 50
year caulk ... that turns translucently clear when
cured
|
|
|
|
|
|
|
|

|
|

|
|
|
|
|
|
Here is the finished sidelight ..... caulked and
curing
|
|
Here is a close up of the 15" wide old growth
Redwood panel
|
|
|
|
|
|
|
|
|
|
|
|
|
|
|
|
|
|
|
|
