|
|
|
|
|
|
|
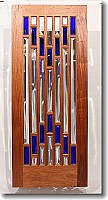
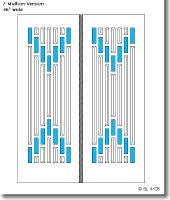
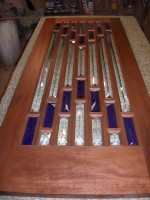
After several door ideas ....... here is the final
design
|
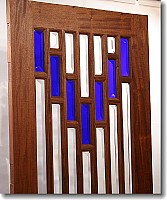
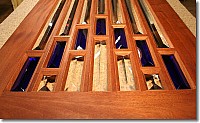
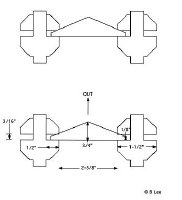
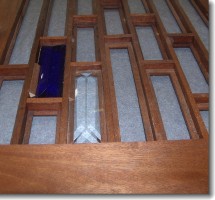
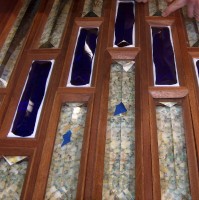
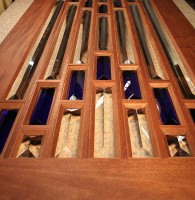
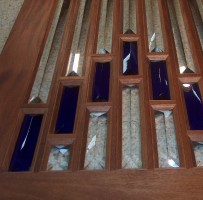
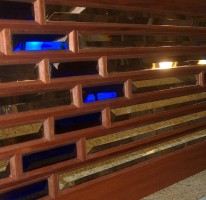
All of the clear glass is 3/4" of an inch
thick
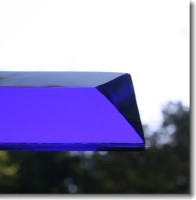
and hand beveled to a compound center peak
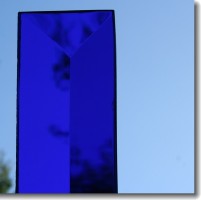
The cobalt blue glass is 1" thick
|
|
|
|
|
|
|
|
|
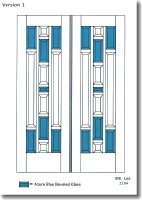
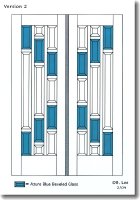
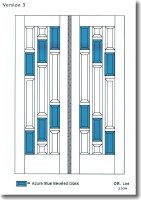
Here are are several different door ideas
|
|
|
|
|
|
|
|
|
|
|
|
Below is the history of how these beautiful doors
are constructed
|
|

|

|
|
The rough Mahogany is joined flat and then
surfaced
|
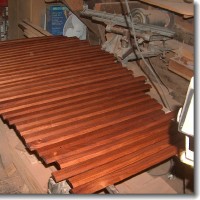
Here are some of the pieces out of the
planer
|
|
|
|
|

|

|

|

|
|
Then each piece is cut to width and then
length
|
since the mullions are so narrow I cut away most of
the material before I shape them in the shaper
|
....... and the the cross mullions
|
Then the mullions are bored for dowels on the end
grain
|
|
|
|
|

|

|

|

|
|
Then the pieces are checked for a perfect vertical
fit
|
Then I start machining the 48 short mullions. I
start by coping the end grain and fit and refit until it's a
perfect fit
|
and then I shape the molded edge and rabbit ......
pretty tricky
|
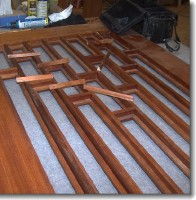
The we cut clamping blocks to fit between the
mullions so that we can clamp across the entire door ......
it takes hours of fitting ..... and a few tricks !!
|
|
|
|
|

|

|

|

|
|
each mullion will be glued on the end grain at least
3 times before assembly
|
and the the "mapped" pieces are placed on the
vertical mullions
|
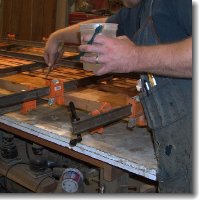
All of the excess glue is removed and
washed
|
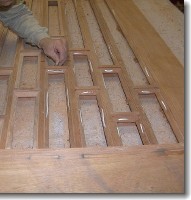
...... we then "toothbrush" the glue out of the
corners
|
|
|
|
|
|

|

|
|
|
... and blow the excess water
|
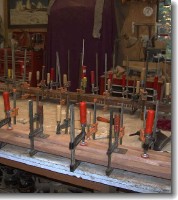
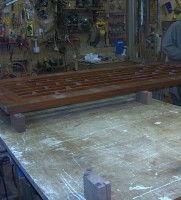
Here each door will stay in clamps for 4 days .. for
a full cure of the glue
|
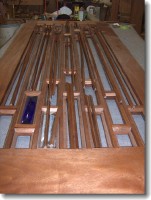
while under clamps ..... we measure the glass
openings ...... time to order the glass
|
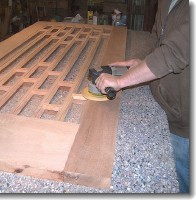
Each and every molded edge is marked with chalk
....... then hand sanded .... when the chalk is gone .......
it's done
|
|
|
|
|
|
|
|
|
|
Then all of he surfaces are machine sanded to a
furniture grade of 220 grit
|
...... here's a cool picture of he "door (dust) we
left behind" !! ........
|
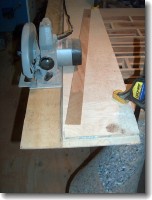
All doors are made a specific amount oversize and
the cut on all for sides, to finish size.
|
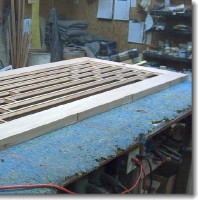
we use 4/4 stock and laminate it together then
thickness sand it
|
|
|
|
|
|
|
|
|
|
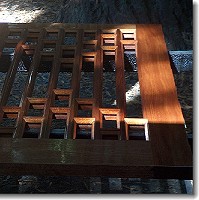
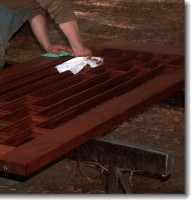
The second door is finish sanded .....
|
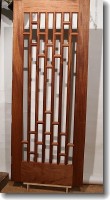
Here are the doors with the 3rd coat of varnish
oil;
|
...... and wiped down
|
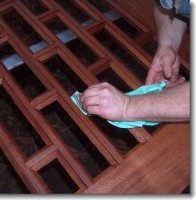
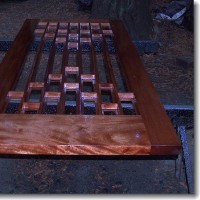
Here is the first door, just oiled. This door will
receive 3 more coats of our varnish oil
|
|
|
|
|
|
|
|
|
|
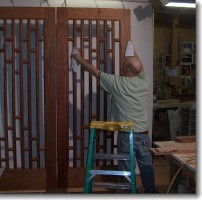
........ it takes almost 3 hours, just to wipe off
the excess varnish oil
|
........ and the "bleed out" wiped off for several
more hours
|
Here are the doors with the 4th coat of varnish
oil;
|
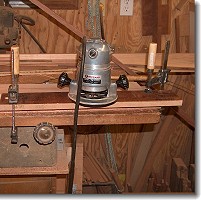
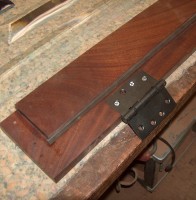
Here I am mortising the jambs for the
hinges
|
|
|
|
|
|
|

|
|
|
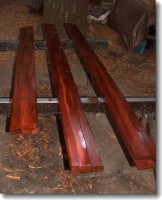
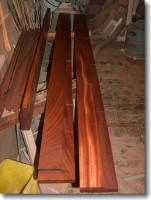
The last coat of varnish oil on the jambs
|
and the the jambs cure for 3 days
|
Wiping down the 5th coat of oil
|
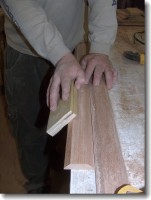
Here we sand the stops before oiling
|
|
|
|
|
|
|
|
|
It is hand beveled to a peak
|
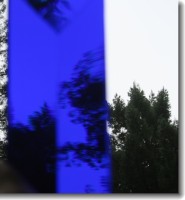
Here is some of the cobalt glass
|
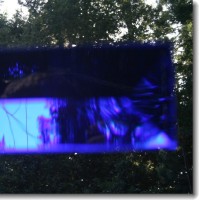
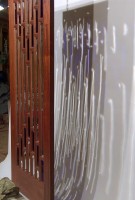
Here is an interesting refraction of light
|
The prismatic effect bends images
|
|
Click
Here to see more of the Diamante
Starfire
|
|
|
|
|
|
|
Here are just a few of the stops for the
doors
|
Here we are cutting the short stops
|
.... and here I am cutting the long stops
|
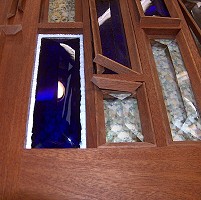
Here is a piece of the Cobalt Diamante Glass and the
clear Diamante Starfire
|
|
|
|
|
|
|
|
|
|
|
|
|
|
|
|
|
|
|
|
|
|
|
|
|
|
|
|
|
|
|
|
|
|
|
|
|
|
|
|
|
|
|
|
|
|
|
|
|
|
|
|
|
|
|
|
|
|
|
|
|
|
|
|
|
|
|
|
|
|
|
|
|
|
|
|
|
|
|


