|
Here is the history of how
this door was constructed
Each client views their site while I'm building their
door !
|
|
|
|
|
|
|

|

|

|

|
|
Here is the rough lumber set aside my shop ....... I
pick out pieces I think are best for this door
|
Here is the rough lumber ... cut oversize
|
...... and here are the pieces after being
surfaced
|
....... then cut to exact width and length
|
|
|
|
|
|
|
|
|

|

|

|

|
|
The pieces are set in place and marked for he
splined tennons and vertical dowels
|
The the arches are cut on the bandsaw
|
....... and the hand planed with an antique compass
plane
|
I pre-drill the dowels before cutting the arc and
remove the temporary dowels after I machine with the
shaper
|
|
|
|
|

|

|

|

|
|
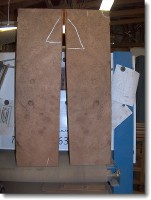
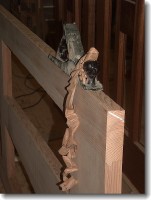
here I use a plywood template against a ball-bearing
on the shaper spindle
|
here is the shaped arc
|
I then fit the vertical piece o fit
lengthwise
|
...... and then cut the taper on the bandsaw and
joint the taper straight
|
|
|
|
|

|

|

|

|
|
....... and the complete the last machining on the
tapered surface
|
We put the center of the doors together
first.
|
They are assembled with 1/2" Mahogany dowels that we
make in shop
|
the splines are inserted and the shaper coped sides
are glued on
|
|
Click on Any
Image to Enlarge
|
|

|

|

|

|
|
all of the excess glue is removed and we even scrub
the corners with a tooth bush
|
Notice the door is clamped side to side and top to
bottom
|
and it will stay in clamps for at least 3
days
|
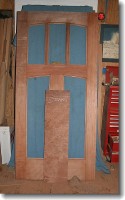
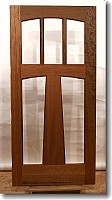
Here is the Naglee out of clamps
|
|
|
|
|

|

|

|
|
|
a close up !!
|
and now I cut the figured burl pieces for the
panels
|
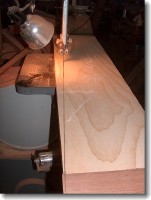
and start machining the panels
|
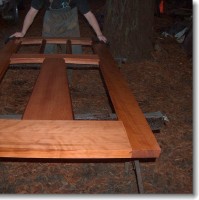
Here is he door "blank" with the panel
stock
|
|
|
|
|
|
|
|
|
|
|
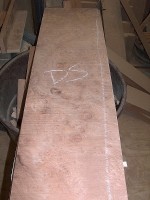
The panel stock is laid out and bookmatched
|
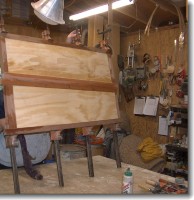
and the panel sub straight ids prepped for the
Redwood edging
|
... and glued on
|
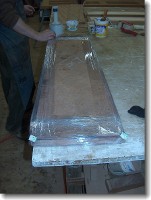
the we place the thick Redwood Burl on the sub
straight and it goes into the vacuum press for 3
(yes Three) days
|
|
|
|
|
|
|
|
|
|
|
Here are the panels about to be sanded ..... they
are so beautiful
|
I back bevel the lock edge by 2 deg for ease of
opening
|
and finish it off with a pass with my hand
plane
|
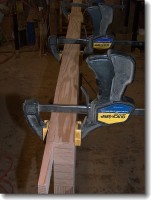
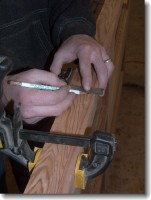
Since I made these jambs several week ago ( and they
are installed) I take the "story poles"
|
|
|
|
|
|
|
|
|
|
|
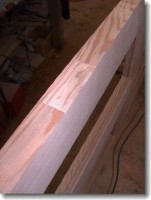
......... of the jambs and lay out for the
hinges
|
then I leave the makers mark
|
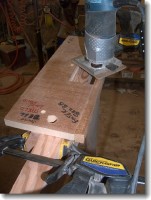
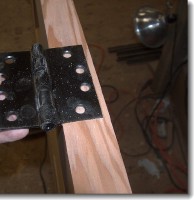
here, I mortise for the hinges
|
and here is the finished product
|
|
|
|
|
|
|
|
|

|
|
This door has bronze ball bearing hinges
|
And then we oil the door before the glass and
panels
|
Here is the door after its' first oiling.
There will be 4 coats of oil-varnish before it's ready to
continue
|
Here is a close up of some of the amazing
wood
|
|
|
|
|
|
|
|
|
|
|
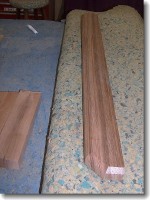
Then I start of the dentil shelf .....
|
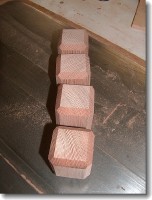
......... and dentil posts
|
|
|
|
|
|
|
|


