|
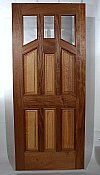
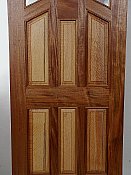
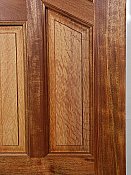
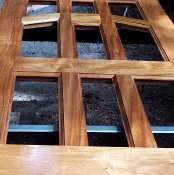
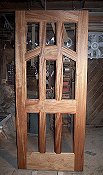
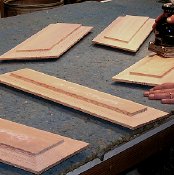
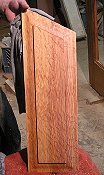
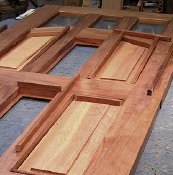
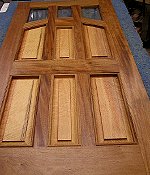
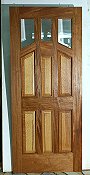
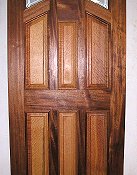
...... This door is genuine Honduras Mahogany...... The raised panels are Striated Fir Panels It also has Beveled ~ thermal glass It is 36" x 84" |
 |
 ............... ............... |
 |
 .. .. |
 |
|
|
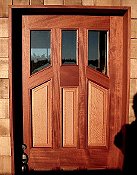
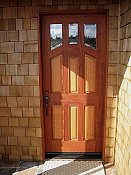
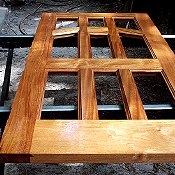
and Striated Fir ..... after installation on its' new home |
|
|
|
|
|
||||
|
|
||||
 |
 |
 |
||
|
|
|
|
||
|
|
 |
 |
 |
 |
|
|
|
|
|
|
|
|||
|
Click on Images |
to Enlarge |
||
|
|
|||
 |
 |

|
 |
|
|
|
|
|
|
|
|||
 |
 |
 |
 |
|
|
|
|
|
|
|
|||
 |
 |
 |
|
|
|
|
|
|
|
|
|||
|
Click on Images |
to Enlarge |
||
|
|
|||
 |
 |
 |
 |
|
|
|
|
|
|
|
|||
 |
 |
 |
 |
|
|
|
|
|
|
|
|||
|
Click on Images |
to Enlarge |
||
|
|
|||
|
Most of our exceptional fabricated glass products have been constructed by Thermal Sun Glass of Santa Rosa, CA |
 |
 |
|
|
|
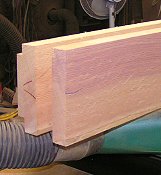
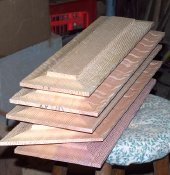
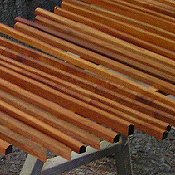
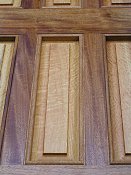
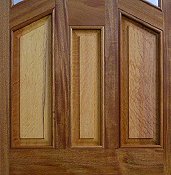
Striated Fir |
||
|
|
|||
 |
 |
 |
 |
|
|
|
|
|
|
Return to Gallery |
© B Lee~2004