|
|
|
|
|
|
|
|
|
|
|

|
|
|
|
|
|
|
|
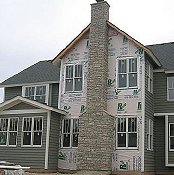
Here is the front of the future home of The
Fullington
|
|
.... and a view of the rear
|
|
|
|
|
|
|
|
|
|

|
|

|
|

|
|

|
|
Here is the clients sketch
|
|
Here is a scale drawing with some changes
|
|
and here is the dimensional layout
|
|
and here is a framing schedule for the
contractor
|
|
|
|
|
|
|
|

|
|

|
|

|
|

|
|
the rough genuine Mahogany lumber is
selected
|
|
some of it comes from some rare large
planks
|
|
........ very large Mahogany planks
22" plus !!
|
|
.... it's time to sharpen up to shear
(not tear) this fine
mahogany to size
|
|
|
|
|
|
|
|

|
|

|
|

|
|

|
|
I sharpen my joiner and planer knives ........ and
it's done right !!
|
|
here are the "rough" pieces cut to a manageable
size
|
|
....... then all the wood is joined on face to make
it straight and flat
|
|
......... and then the pieces are thickness planed
.........
|
|
|
|
|
|
|
|

|
|

|
|

|
|

|
|
...... from 2"+ down to 1-3/4" thick
|
|
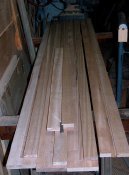
the pieces are will then be cut to width and
length
|
|
..... then they are laid out for color and matching
before machining
|
|
Here is one of the two sidelights
|
|
|
|
|
|
|
|

|
|

|
|

|
|

|
|
the parts are then coped on a shaper
|
|
and then the edges are machined with the "sticking"
which is a chamfered step bevel of my design
|
|
here are some of the pieces after machining. Notice
the beautiful vertical "ribbon" grain
|
|
The vertical pieces are then individually fit to
length ....... it takes about and hour to fit the pieces
properly ....... before it's ready for glue up.
|
|
|
|
|
|
|
|

|
|

|
|

|
|

|
|
Here is the first sidelight fitted and glued up
......
|
|
.......... and the any excess glue is removed with
water and detailing
|
|
Here are the sidelights in clamps
|
|
........ and the door in clamps ... where they will
stay for 3-4 days while the glue cures
|
|
|
|
|
|
|
|
|
|

|
|
|
|

|
|
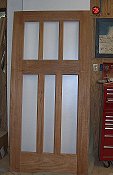
Here is the Entrance Door out of clamps
|
|
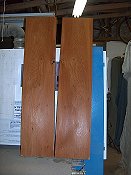
.... and here are the sidelights
|
|
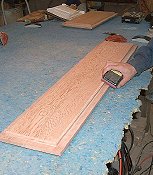
Here are the book matched panels for the
door
|
|
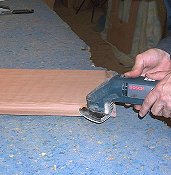
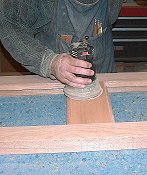
here my sander, we call "speedy"
(because it is so slow) does most of
the sanding
|
|
|
|
|
|
|
|
|
|
|
|
|
|
|
|
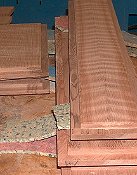
the outer panels are straight grain Redwood and the
center is bookmatched Redwood curly grain
|
|
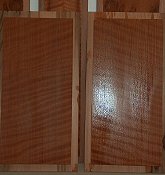
here are the bookmatched curly redwood panels for
the sidelights. I have wet them with water to show the
grain
|
|
The panels will soon be finish sanded and then
oiled
|
|
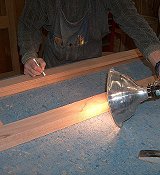
All of the details of the edges are also finish
sanded
|
|
|
|
|
|
|
|
|
|
|
|
|
|
|
|
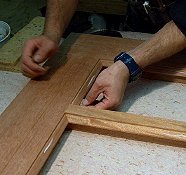
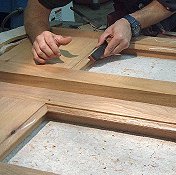
... and here we start the hand sanding of all the
molded detail
|
|
and the sidelights
|
|
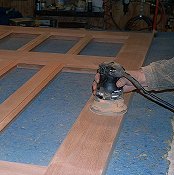
Then each style and rail is inspected and hand
finished
|
|
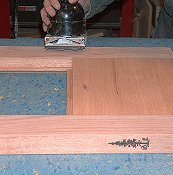
The entire sidelight and door will be sanded to 220
grit finish
|
|
|
|
|
|
|
|
|
|
|
|
|
|
|
|
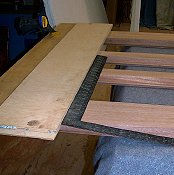
Here we detail even the edges
|
|
The door receives its' final sanding
|
|
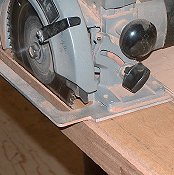
Each door is made 1/2" oversize and then perfectly
squared and .......
|
|
...... cut to size on top and bottom
|
|
|
|
|
|
|
|

|
|
|
|
|
|
|
|
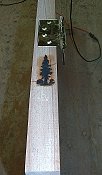
Here I mortise for the hinges one at a time .....
and always
|
|
.......... have a perfect fit and then I can "sign"
the door ....... because I'm proud of it !!
|
|
Here are the jambs for the sidelights and
door
|
|
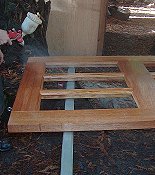
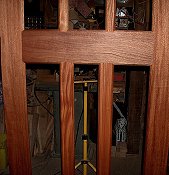
Then we give the door its' first coat of varnish
oil
|
|
|
|
|
|
|
|

|
|
|
|
|
|
|
|
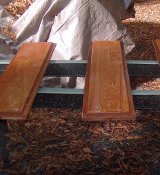
........... panels too
|
|
The varnish oil is allowed to soak in for 45 mins to
and hour
|
|
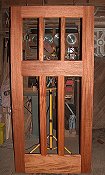
Here the door will cure for 4 days ...
|
|
....... before I attach the dentils and shelf. I
want it sealed under the dentil shelf
|
|
|
|
|
|
|
|

|
|
|
|
|
|
|
|
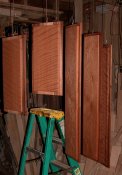
Here is one of the two sidelights curing for at
least 3 days before re-oiling
|
|
Here are the panels curing for 3 days before
re-oiling
|
|
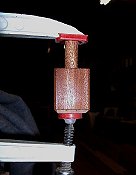
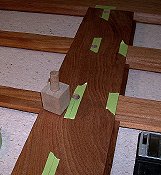
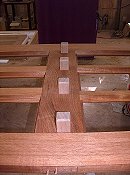
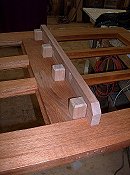
The dentil posts will be attached with 1" Mahogany
posts
|
|
I make my own dowels ........ cause no one else
does!
|
|
|
|
|
|
|
|
|
|
|
|
|
|
|
|
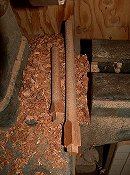
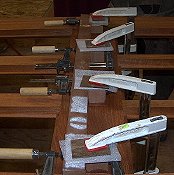
They will be set in with glue and an old style
technique of wedged tenons
|
|
Then clamped for 36 hrs
|
|
and a little sanding and we're ready for oiling the
entire door for 3 more coats of varnish oil
|
|
a quick check on the fit of the shelf
|
|
|
|
|
|
|
|
|
|
|
|
|
|
|
|
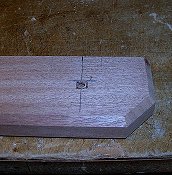
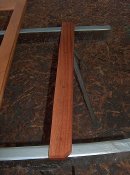
and then I mortised for the square Rosewood
pins
|
|
I oiled the shelf separately ......... so that all
sides of the shelf get sealed
|
|
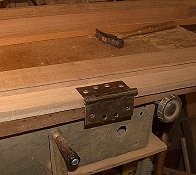
Here we mortise the jamb for the 4 hinges
|
|
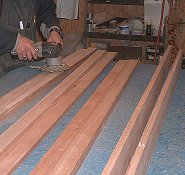
Then all of the jambs are finish sanded
|
|
|
|
|
|
|
|
|
|
|
|
|
|
|
|
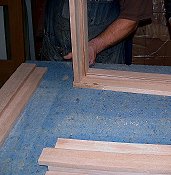
double check the fit
|
|
and oil them with 3 coats of varnish oil ......
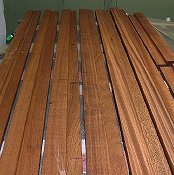
Notice the beautiful ribbon grain
|
|
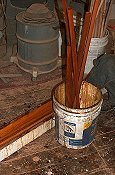
All of the stops are SOAKED
in our varnish oil ........ before they are
fitted
|
|
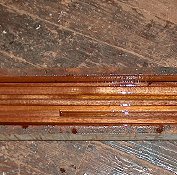
here they drain and then are wiped
|
|
|
|
|
|
|
|
|
|

|
|
|
|
CLICK HERE
to see the custom shipping case
|
|
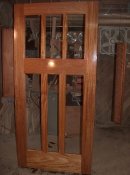
The last coat of oil
|
|
...... and it will have to cure for 3-4 days before
we can start adding all the "pieces"
|
|
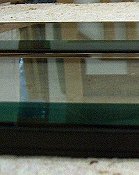
Here are the beveled, insulated, and tempered units
.......... each are dual sealed for longevity
|
|
|
|
|
|
|
|
|
|


